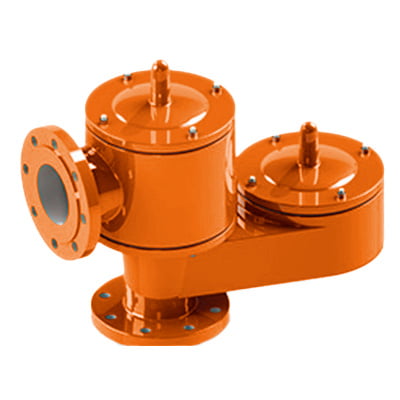
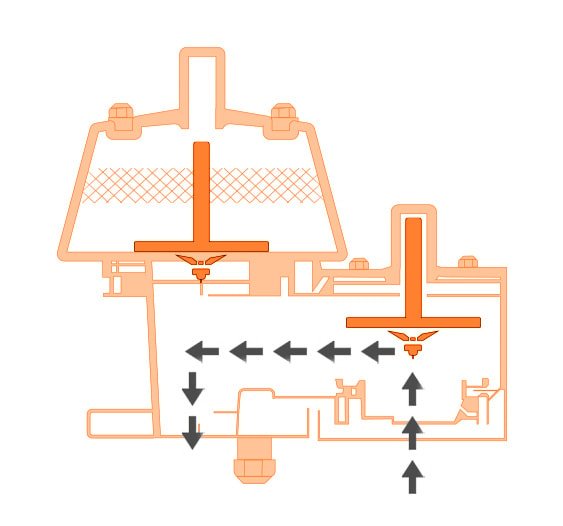
In industrial tank systems, the breather valve is a key component to ensure that the pressure and vacuum levels in the tank remain within safe limits. In order to ensure that the YeeValve breather valve works reliably and safely in actual applications, we have a comprehensive testing procedure. In this article, I will show each step of this procedure to ensure that the product works well as expected in actual work.
Breather Valve Test Procedure
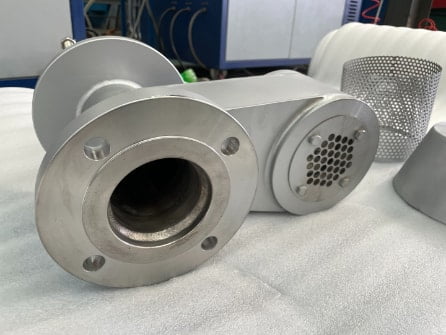
1. Visual Inspection
-
Inspect for Damage: Our QC check the valve body, gaskets, seals, and other components for any visible signs of wear, corrosion, or damage.
-
Check for Debris: Ensure that the valve is clean and free from any impurities that could affect the breather valve’s performance.
2. Setup for Test
We have two types of test benches. One is a tank-type operating bench, where the breather valve is installed on the top of tank for actual testing. The other type is a professional breather valve test bench. The breather valve is fixed on a test bench that can simulate actual application operations to test its positive and negative pressure values.
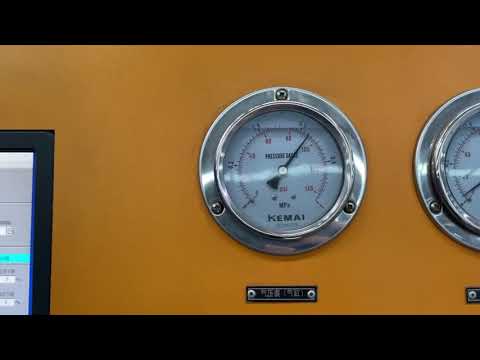
3. Pressure Relief Test
-
Apply Pressure: Gradually increase the pressure in the system to the valve’s set pressure (positive pressure relief).
-
Observe Opening: The valve should open when the applied pressure reaches the set point. Record the pressure at which the valve begins to open.
-
Check for Leakage: Before the set point is reached, ensure there is no leakage through the valve. Minimal leakage (as per the valve’s specifications) is acceptable, but anything beyond the standard should be noted.
-
Release Pressure: Once the valve opens, reduce the pressure and ensure the valve closes properly. Note the pressure at which the valve reseals.
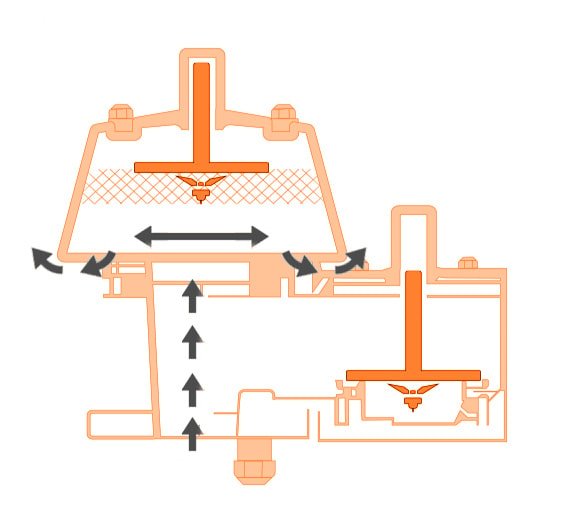
4. Vacuum Relief Test
-
Apply Vacuum: Slowly decrease the pressure (apply vacuum) in the system to the valve’s set vacuum pressure.
-
Observe Opening: The valve should open at the set vacuum point. Record the vacuum pressure at which the valve begins to open.
-
Check for Ingress: Verify that the valve does not allow any ingress (air intake) until the set vacuum pressure is reached.
-
Release Vacuum: Gradually restore the pressure to normal and confirm that the valve closes and reseals properly.
https://www.youtube.com/watch?v=36AXWCAr0Sc
5. Documentation
Record Results
Document all test results, including the set points, leakage rates, and any observations regarding the valve’s performance.
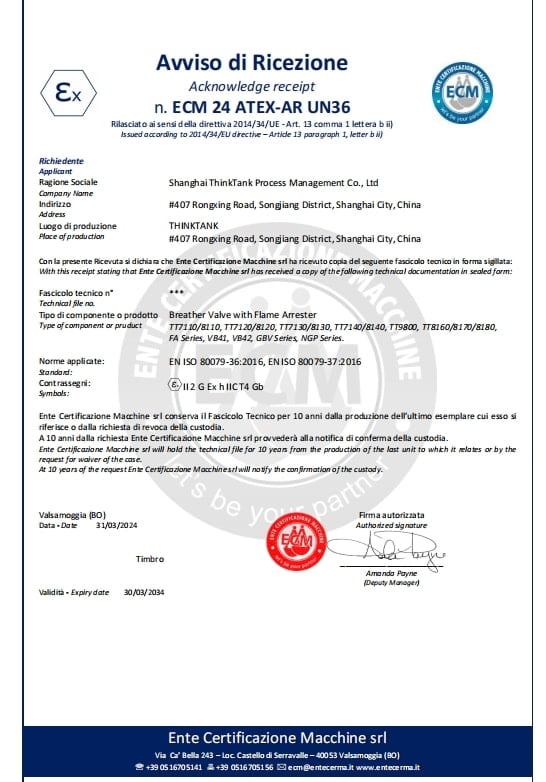
Certification
If the valve passes all tests, issue a test certificate that includes all relevant data, ensuring it meets the required standards.
6. Final Inspection
Final Visual Check
Perform one last visual inspection to ensure all components are properly reassembled, and there are no signs of damage or wear introduced during testing.
Labeling
Verify that all labels, including those indicating valve size, material, connection type, set pressures and vacuum settings are correctly applied and legible. Ensure the valve has the necessary identification tags or nameplates as per standard requirements.
Cleanliness
Ensure the valve is clean and free from any testing residues that could affect performance in its operational environment.
Packaging
If the valve is ready for dispatch, we will pack it securely using appropriate materials to prevent damage during transportation. Include the test certificate and any relevant documentation in the package. (Based on the customer requirements, if customer not allow any paper come with the valves, we will not put the documents)
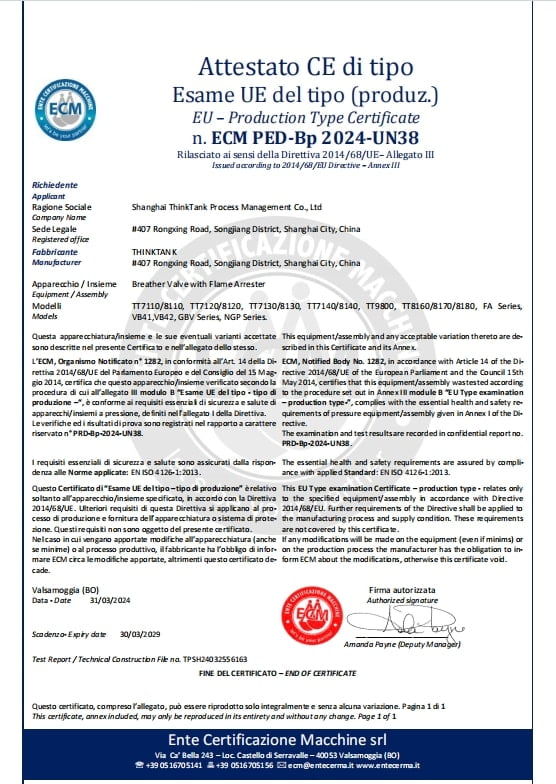
7. Certification and Documentation
Test Report
We will provide a detailed test report that includes all relevant test results, observations, and confirmations of compliance with applicable standards. This certificate should be signed by our responsible testing engineer.
Documentation
Ensure all documentation, including the test report, maintenance logs, and any calibration certificates for the testing equipment, are properly filed and accessible for future reference.
8. Review and Approval
Quality Control Review
Have the testing results reviewed and approved by a quality control engineer or supervisor to ensure all procedures have been followed correctly and the valve meets the required standards.
Customer Notification
Finally, the representative will inform the customer that the valve has passed all required tests and is ready for delivery, and send them with the test report and any other relevant documentation.
Conclusion
Through this series of stringent tests, we make sure that every valve we ship meets both our customers’ requirements and the requirements of the industry. This process not only makes our product more reliable, but it also gives our customers peace of mind that their equipment is safe. Finally, with all the documentation and certification procedures we have in place, we provide complete quality assurance for every batch of YeeValve breather valves that leaves our facility.
If you need any further adjustments or additions, feel free to let me know!
Breather Valve vs PRV Pressure Relief Valve
We all know choosing the right valve is important to ensuring safety and efficiency for [...]
Aug
Breather Valve Test Procedure
In industrial tank systems, the breather valve is a key component to ensure that the [...]
Aug
3 Simple Steps to Quickly Select the Right Breather Valve
YeeValve is a specialized division of THINKTANK that makes breather valves. We offer free consulting [...]
Aug
Service & Technical Support
1. Technical Assistance Yee Valve offers expert guidance for valve selection, installation, and maintenance. Customers [...]
May
Order Checklist
When you make an order to Yee Valve, here are the steps you should follow [...]
May
How to Sizing Breather Valve?
To properly size a breather valve, follow these steps: Step 1. Determine Tank Specifications Measure [...]
May