Dalam sistem tangki industri, katup pernafasan merupakan komponen kunci untuk memastikan bahwa tingkat tekanan dan vakum di dalam tangki tetap dalam batas aman. Untuk memastikan bahwa katup pernafasan YeeValve bekerja dengan andal dan aman dalam aplikasi sebenarnya, kami memiliki prosedur pengujian yang komprehensif. Dalam artikel ini, saya akan menunjukkan setiap langkah dari prosedur ini untuk memastikan bahwa produk berfungsi dengan baik seperti yang diharapkan dalam pekerjaan sebenarnya.
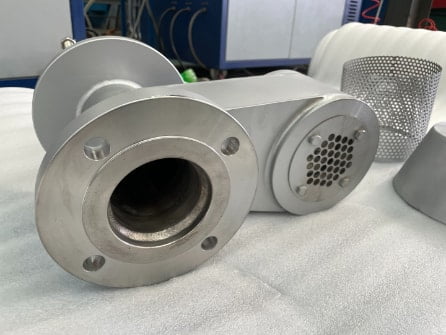
Prosedur Uji Katup Pernafasan
1. Inspeksi Visual
-
Periksa Kerusakan: QC kami memeriksa badan katup, gasket, segel, dan komponen lainnya untuk melihat tanda-tanda keausan, korosi, atau kerusakan.
-
Check for Debris: Ensure that the valve is clean and free from any impurities that could affect the breather valve’s performance.
2. Pengaturan untuk Tes
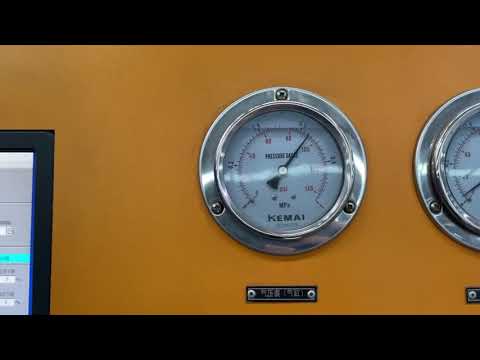
Kami memiliki dua jenis bangku tes. Salah satunya adalah meja operasi tipe tangki, di mana katup pernafasan dipasang di bagian atas tangki untuk pengujian sebenarnya. Tipe lainnya adalah bangku uji katup pernafasan profesional. Katup pernafasan dipasang pada meja uji yang dapat mensimulasikan operasi aplikasi sebenarnya untuk menguji nilai tekanan positif dan negatifnya.
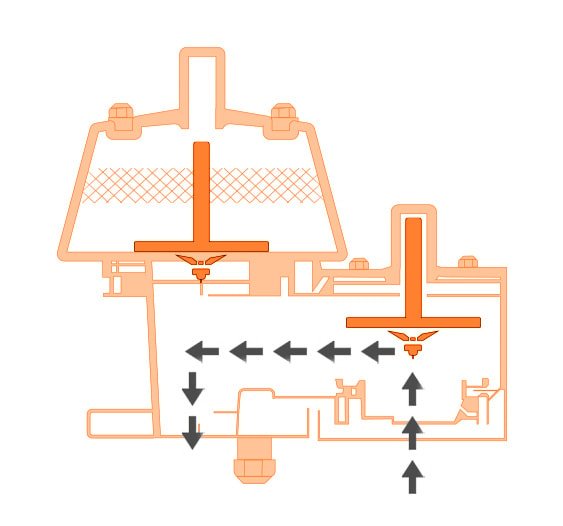
3. Uji Pelepasan Tekanan
-
Terapkan Tekanan: Tingkatkan tekanan dalam sistem secara bertahap hingga tekanan yang disetel katup (pelepasan tekanan positif).
-
Amati Pembukaan: Katup harus terbuka ketika tekanan yang diberikan mencapai titik setel. Catat tekanan saat katup mulai terbuka.
-
Periksa Kebocoran: Sebelum set point tercapai, pastikan tidak ada kebocoran melalui katup. Kebocoran minimal (sesuai spesifikasi katup) dapat diterima, namun kebocoran di luar standar harus diperhatikan.
-
Pelepasan Tekanan: Setelah katup terbuka, kurangi tekanan dan pastikan katup menutup dengan benar. Perhatikan tekanan saat katup menutup kembali.
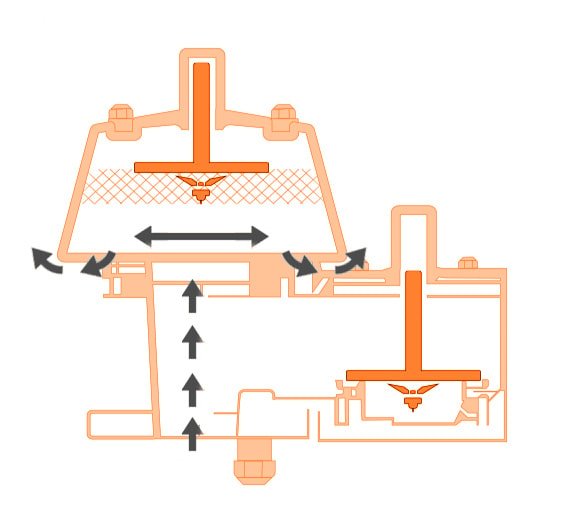
4. Uji Pelepasan Vakum
-
Terapkan Vakum: Turunkan tekanan secara perlahan (terapkan vakum) dalam sistem ke tekanan vakum yang disetel katup.
-
Amati Pembukaan: Katup harus terbuka pada titik vakum yang disetel. Catat tekanan vakum saat katup mulai terbuka.
-
Periksa Masuknya: Pastikan katup tidak membiarkan masuknya apa pun (pemasukan udara) sampai tekanan vakum yang disetel tercapai.
-
Melepaskan Vakum: Kembalikan tekanan secara bertahap ke normal dan pastikan katup menutup dan menutup kembali dengan benar.
https://www.youtube.com/watch?v=36AXWCAr0Sc
5. Dokumentasi
Catat Hasil
Dokumentasikan semua hasil pengujian, termasuk titik setel, tingkat kebocoran, dan pengamatan apa pun terkait kinerja katup.
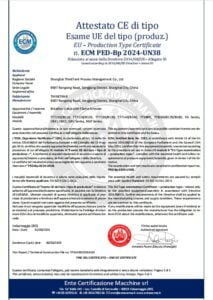
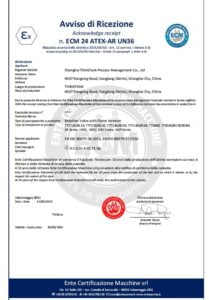
Certification
Jika katup lulus semua pengujian, terbitkan sertifikat pengujian yang mencakup semua data yang relevan, untuk memastikan katup tersebut memenuhi standar yang disyaratkan.
6. Pemeriksaan Akhir
Pemeriksaan Visual Terakhir
Lakukan inspeksi visual terakhir untuk memastikan semua komponen telah dipasang kembali dengan benar, dan tidak ada tanda-tanda kerusakan atau keausan selama pengujian.
Pelabelan
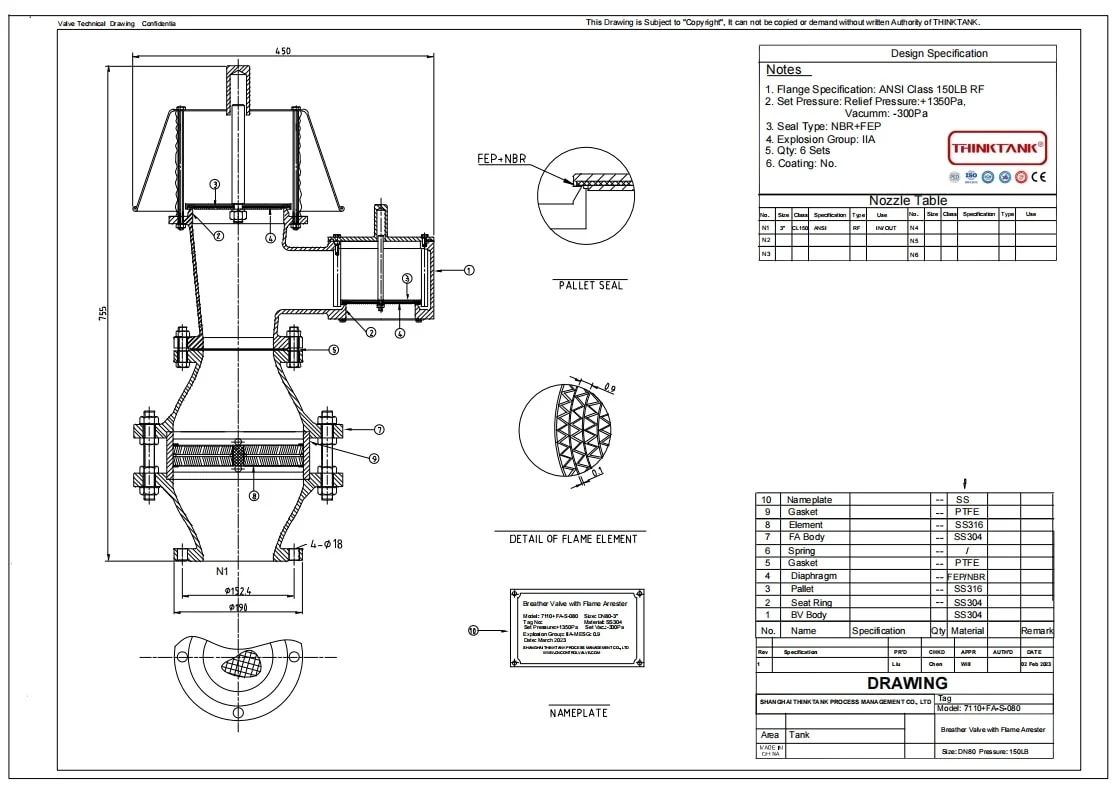
Pastikan semua label, termasuk label yang menunjukkan ukuran katup, bahan, jenis sambungan, tekanan yang disetel, dan pengaturan vakum diterapkan dengan benar dan dapat dibaca. Pastikan katup memiliki tanda pengenal atau papan nama yang diperlukan sesuai persyaratan standar.
Kebersihan
Pastikan katup bersih dan bebas dari residu pengujian yang dapat mempengaruhi kinerja di lingkungan operasionalnya.
Kemasan
Jika katup siap dikirim, kami akan mengemasnya dengan aman menggunakan bahan yang sesuai untuk mencegah kerusakan selama pengangkutan. Sertakan sertifikat tes dan dokumentasi terkait lainnya dalam paket. (Berdasarkan kebutuhan pelanggan, jika pelanggan tidak mengizinkan kertas apa pun disertakan dengan katup, kami tidak akan memasukkan dokumennya)
7. Sertifikasi dan Dokumentasi
Laporan Uji
Kami akan memberikan laporan pengujian terperinci yang mencakup semua hasil pengujian yang relevan, observasi, dan konfirmasi kepatuhan terhadap standar yang berlaku. Sertifikat ini harus ditandatangani oleh teknisi pengujian kami yang bertanggung jawab.
Dokumentasi
Pastikan semua dokumentasi, termasuk laporan pengujian, catatan pemeliharaan, dan sertifikat kalibrasi apa pun untuk peralatan pengujian, disimpan dengan benar dan dapat diakses untuk referensi di masa mendatang.
8. Peninjauan dan Persetujuan
Tinjauan Pengendalian Mutu
Mintalah hasil pengujian ditinjau dan disetujui oleh insinyur atau penyelia kendali mutu untuk memastikan semua prosedur telah diikuti dengan benar dan katup memenuhi standar yang disyaratkan.
Pemberitahuan Pelanggan
Terakhir, perwakilan akan memberi tahu pelanggan bahwa katup telah lulus semua pengujian yang diperlukan dan siap untuk dikirim, dan mengirimkan kepada mereka laporan pengujian dan dokumentasi terkait lainnya.
Kesimpulan
Melalui serangkaian pengujian ketat ini, kami memastikan bahwa setiap katup yang kami kirimkan memenuhi persyaratan pelanggan dan persyaratan industri. Proses ini tidak hanya membuat produk kami lebih andal, namun juga memberikan ketenangan pikiran kepada pelanggan bahwa peralatan mereka aman. Terakhir, dengan semua dokumentasi dan prosedur sertifikasi yang kami miliki, kami memberikan jaminan kualitas lengkap untuk setiap batch katup pernafasan YeeValve yang meninggalkan fasilitas kami.
Jika Anda memerlukan penyesuaian atau penambahan lebih lanjut, silakan beri tahu saya!

Katup Pernafasan vs Katup Pelepas Tekanan PRV
Kita semua tahu bahwa memilih katup yang tepat penting untuk memastikan keamanan dan efisiensi [...]
Agustus
Prosedur Uji Katup Pernafasan
Dalam sistem tangki industri, katup pernafasan adalah komponen kunci untuk memastikan bahwa [...]
Agustus
3 Langkah Sederhana untuk Memilih Katup Pernafasan yang Tepat dengan Cepat
YeeValve adalah divisi khusus dari THINKTANK yang membuat katup pernafasan. Kami menawarkan konsultasi gratis [...]
Agustus
Layanan & Dukungan Teknis
1. Bantuan Teknis Yee Valve menawarkan panduan ahli untuk pemilihan, pemasangan, dan pemeliharaan katup. Pelanggan [...]
Mungkin
Daftar Periksa Pesanan
Saat Anda melakukan pemesanan ke Yee Valve, berikut langkah-langkah yang harus Anda ikuti [...]
Mungkin
Bagaimana Mengukur Katup Pernafasan?
Untuk mengukur katup pernafasan dengan benar, ikuti langkah-langkah berikut: Langkah 1. Tentukan Spesifikasi Tangki Ukur [...]
Mungkin